
 11
11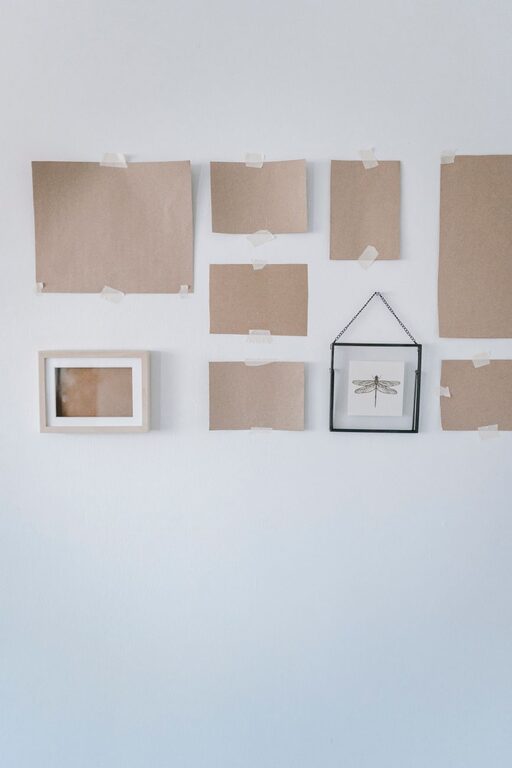
When it comes to sprucing up your living space, wall decor plays a significant role in setting the mood and style of a room. Whether you want to add a splash of color, display personal memories, or create a focal point, DIY wall decor projects are an enjoyable and affordable way to personalize your home. Here are some easy and creative DIY ideas that anyone can try, no matter your skill level.
A gallery wall is a timeless way to showcase art, photos, and other decorative items. It’s versatile and can be customized to fit your space and style.
– Picture frames in various sizes
– Photos, prints, or artwork
– Hanging hardware (hooks, nails, or adhesive strips)
– Level and measuring tape
– Select a theme or color scheme to keep your gallery cohesive.
– Lay out your frames on the floor to design the arrangement before hanging.
– Use a level and measuring tape to ensure even spacing.
– Hang the frames starting from the center and work your way outward.
Mix in different types of wall art like small shelves, mirrors, or decorative plates for added texture.
Macrame adds a boho-chic vibe and texture to your walls. You don’t need to be an expert to make a simple design.
– Macrame cord or thick cotton rope
– Wooden dowel or branch
– Scissors
– Optional: beads or feathers for decoration
– Start with basic knots like the square knot or lark’s head knot.
– Watch beginner tutorials online to learn patterns.
– Attach your finished piece to a dowel or branch and hang it up.
Macrame brings a natural, handmade feel to your space and is great for empty patches of wall.
Blank canvases are an inexpensive starting point for personalized art.
– Blank canvas or canvas board
– Acrylic paints
– Paintbrushes or sponges
– Stencils or painter’s tape
– Use painter’s tape to create geometric shapes or stripes.
– Paint solid colors or patterns on the canvas.
– Remove the tape once dry for crisp lines.
– Alternatively, use stencils to add quotes, shapes, or designs.
Don’t worry about perfection—abstract or imperfect designs add character.
Floating shelves provide both decorative and functional value.
– Floating shelves (can be purchased or DIY from wood planks)
– Wall anchors and screws
– Level and drill
– Decorative items (plants, books, candles, collectibles)
– Decide on shelf placement to complement furniture and wall space.
– Use a level to mark where the brackets or screws will go.
– Secure shelves to the wall, making sure they are sturdy.
– Style with a mix of items to add personality.
Shelves break up large wall spaces and offer a place to display unique pieces.
String art is a fun project that turns nails and colorful thread into eye-catching designs.
– Wood board or thick cardboard
– Small nails or pins
– Hammer
– Colored embroidery thread or yarn
– Pencil for sketching design
– Sketch your design lightly on the board.
– Hammer nails along the outline, keeping them evenly spaced.
– Tie the thread to one nail and weave it back and forth, wrapping around nails to fill in the shape.
– Finish by tying off the thread and trimming excess.
Start with simple shapes like hearts, stars, or initials.
Washi tape is a colorful, removable tape that’s perfect for renters or those who like to change designs often.
– Rolls of washi tape in various colors and patterns
– Ruler and pencil (optional)
– Scissors
– Create geometric patterns, stripes, or even simple murals.
– Plan your design lightly with pencil marks if needed.
– Apply tape carefully, smoothing out bubbles and wrinkles.
– Use scissors to cut clean edges.
Easy to remove or reposition without damaging walls.
If you love patterns but want to avoid painting or wallpapering an entire wall, framing fabric or wallpaper snippets is a stylish alternative.
– Fabric pieces or wallpaper samples
– Picture frames or shadow boxes
– Scissors
– Cut fabric or wallpaper to fit frames.
– Stretch fabric on cardboard for a smooth surface if needed.
– Place inside frames and hang in a grid or staggered layout.
Swap out fabric or paper seasonally for a fresh look.
– Plan Ahead: Measure your wall space and plan your arrangement before starting.
– Use Quality Tools: Proper hanging hardware prevents damage and keeps your art secure.
– Involve Family or Friends: DIY projects can be more fun and faster with a helping hand.
– Personalize: Incorporate meaningful items or colors that reflect your personality.
– Keep It Balanced: Mix different textures, colors, and sizes to create a harmonious look.
Decorating your walls with DIY projects not only beautifies your home but also gives you a sense of accomplishment. With these easy ideas, you can transform any blank wall into a stylish focal point without spending a fortune or needing advanced skills. So grab your supplies and get creative!